What a diffuser does and when it helps
A diffuser is a bowl-shaped hair dryer attachment fitted with prongs or fingers. Instead of pushing one concentrated stream of air at your hair, it spreads the airflow across a wider area. That single design change is why a diffuser behaves so differently from a bare nozzle: the air arrives softly and from several directions rather than as a hard blast.
The practical benefit is that curl clumps are not blown apart as they dry. When airflow is dispersed, natural curl and wave patterns can form with less frizz, which is the main reason diffusers exist. The prongs or grips also lift and support hair while it dries, which helps you reach the roots of dense hair and build volume at the crown.
A diffuser is not the same tool as a concentrator nozzle. A concentrator narrows the airflow into a tight stream for precision styling and faster targeted drying, and it is aimed at straight, sleek, polished finishes. The diffuser does the opposite job: it is intended mainly for curly, wavy and textured hair, where preserving the pattern matters more than smoothing it flat. Some dryers are sold with both attachments, and swapping between them is the simplest way to change the character of a blow-dry.
One point worth knowing before you start: curly hair has a more raised cuticle than straight hair, which makes it more prone to losing moisture and frizzing under harsh airflow. That is a general explanation rather than a measured threshold, but it matches the everyday experience of drying curls on high heat.
- A diffuser spreads airflow over a wider area instead of firing one concentrated stream.
- Dispersed air dries hair gently and helps curl clumps stay intact.
- Prongs or grips lift and support hair, useful for root volume in dense hair.
- A concentrator nozzle does the reverse: narrow airflow, precision styling, sleeker finishes.
- Diffusers suit curly, wavy and textured hair; concentrators suit straight and polished styles.
Sources: Liverpoolbuzz, Vega Professional, Bellissima Italia
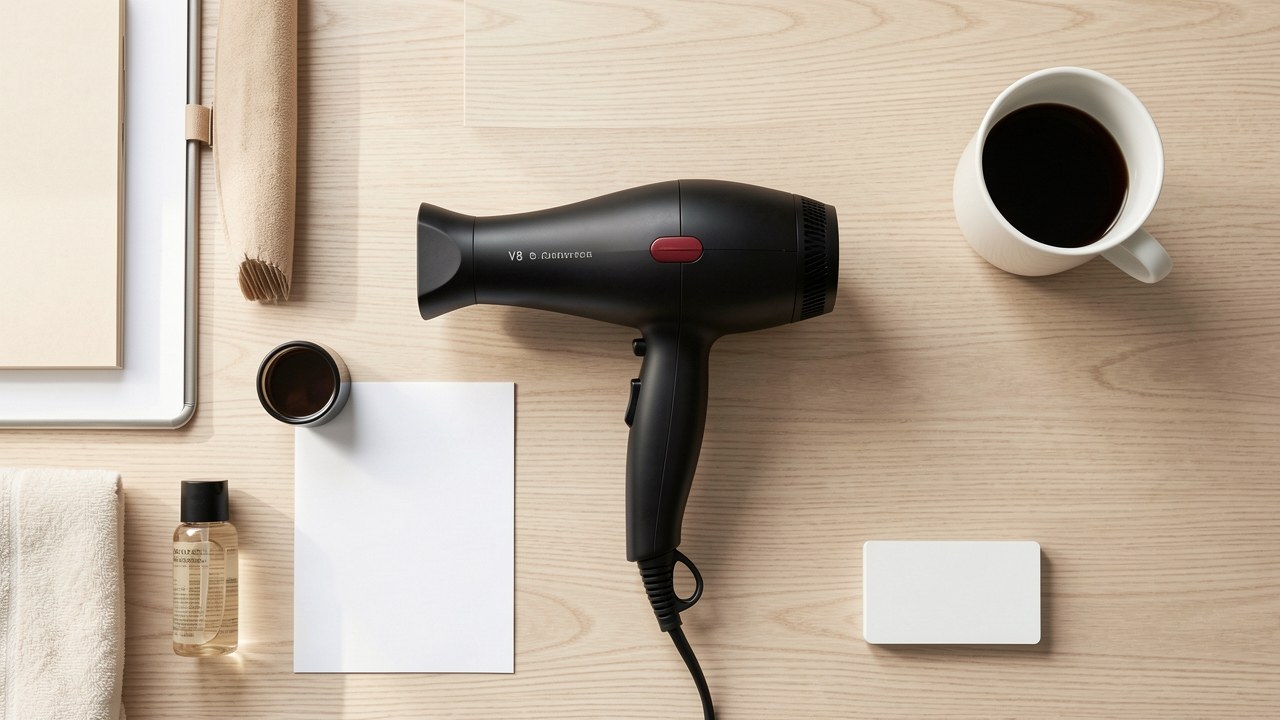
Matching diffuser cup and prong type to hair length
Diffuser attachments are not one-size-fits-all, and the two features that matter most are how deep the bowl is and how long the prongs are. A large, deep bowl suits long or very thick hair because more hair can be cupped at once, so you spend less time chasing sections. A smaller bowl is easier to manage on short or fine hair, where a big bowl would simply get in the way.
Prong length follows similar logic. Longer prongs help reach the roots of thick, long or dense hair and are useful when you want volume. Shorter prongs suit fine or short hair, where long fingers would tangle rather than lift. Some diffusers also let you adjust the spokes, and some use aerated fingers, which behave like long prongs with extra airflow around them.
Treat all of this as practical matching rather than a fixed rule. Match bowl size and prong length to hair length and thickness, and let your own experience refine the choice from there. The same reasoning applies to airflow holes: small, evenly distributed holes produce more even diffused airflow, while too much airflow tends to cause frizz and too little makes the whole process slow.
Not every diffuser is a separate attachment. Some dryers have a diffuser built in as a single non-removable unit, which removes any compatibility question with the base dryer but makes the tool bulkier and harder to store or travel with. Attachment-style diffusers are usually lightweight, sold separately and usable across dryers, though compatibility can require some research or trial and error because high-end dryers often use brand-specific or magnetic fittings.
| Feature | Works well for | Why |
|---|---|---|
| Large, deep bowl | Long or very thick hair | More hair can be cupped in one pass |
| Small bowl | Short or fine hair | Easier to control on smaller sections |
| Longer prongs | Thick, long or dense hair | Reaches the roots for lift and volume |
| Shorter prongs | Fine or short hair | Less tangling; simpler to position |
| Evenly spaced airflow holes | Most hair types | More even diffused airflow |
| Adjustable spokes or aerated fingers | Varies by model | Allows airflow or grip to be tuned to the hair |
Sources: Liverpoolbuzz, Curl Maven, Jupiter & Dann
Heat and speed settings to start with
Start with a low to medium heat setting and a low or medium speed setting. That combination is the common starting point for diffusing and it gives you room to adjust in either direction once you see how your hair is responding. If the process feels slow, raising speed a little is usually gentler on the curl pattern than raising heat.
The reason to favor lower heat is that curly hair is fragile, and high heat can cause both damage and frizz. Keep the dryer's heat moderate and let the dispersed airflow do the work rather than trying to dry quickly at a high setting.
Two practical notes on equipment. First, attach the diffuser securely to the dryer nozzle so the airflow disperses evenly and the attachment does not shift mid-dry. Second, check that your dryer offers the settings you need: dryers sold for curly hair commonly include multiple heat and speed settings plus a cool shot button, which is the feature you will use at the end. Some dryers are also marketed with ionic or tourmaline technology intended to reduce frizz and add shine, and some diffusers use ceramic or titanium materials marketed as distributing heat more evenly. Those are marketing claims rather than independently verified performance findings, so treat them as nice-to-have rather than essential.
- Set the dryer to low or medium heat.
- Set the speed to low or medium.
- Fit the diffuser firmly onto the nozzle and check it does not wobble.
- Confirm you can reach the cool shot button without rearranging your hands.
- Adjust speed first if drying feels too slow, then heat if needed.
Sources: Liverpoolbuzz, HairSpeaks, Curl Maven, ShunSalon, Max Pro x MOHI
Sectioning and loading hair into the cup
Diffusing starts long before you switch the dryer on. Begin on freshly washed and conditioned hair, then squeeze out excess water with a microfiber towel or a cotton T-shirt rather than rough towel-drying, which is abrasive on wet curls. Apply your styling products to wet or damp hair before drying: curl creams, leave-in conditioners, mousse and gel all belong at this stage. Light products such as mousse or leave-in conditioner are a sensible choice for short hair.
Once you are ready to dry, work in sections and start at the roots, moving toward the lengths. Tilt your head forward or to the side and place a section of hair into the diffuser bowl, holding each section briefly before moving on. Exactly how long to hold varies between published routines, so use a short hold and check the hair rather than counting on one universal number.
Two habits protect the result. First, avoid touching or manipulating curls while they dry, since handling is one of the most common causes of frizz. Second, let the prongs do their job on the roots, where dense hair needs the airflow lifted into it rather than flattened against the scalp.
- Wash and condition the hair.
- Squeeze out excess water with a microfiber towel or cotton T-shirt.
- Apply curl cream, leave-in conditioner, mousse or gel to wet or damp hair.
- Attach the diffuser and set heat and speed to low or medium.
- Tilt the head forward or to the side.
- Load a small section of hair into the bowl, starting at the roots.
- Hold briefly, then move to the next section until the lengths are reached.
- Avoid touching or rearranging curls while they dry.
Sources: Liverpoolbuzz, HairSpeaks, ShunSalon
Pixie, hover and bowl drying: choosing a method
There are three common ways to bring the diffuser to the hair, and they suit different goals. Bowl drying is the classic method: you gather hair into the bowl itself and hold it there, letting the prongs support the curl clumps while they dry. It is the most hands-on option and the one that gives the strongest cupping action around the hair.
Hover drying keeps the diffuser a short distance away from the head, so the airflow reaches the hair without the bowl touching it. It is useful when you want to set the outer layer or dry the roots without disturbing the pattern. Pixie drying is the most targeted method: you use the prongs or fingers to lift small sections at the roots without cupping the full length, which is helpful for short hair and for adding lift in specific spots.
Many routines mix the three within one drying session: hover over the canopy, pixie-dry at the roots for lift, then bowl-dry the lengths. For short hair specifically, published routines suggest the whole process generally takes about 5 to 10 minutes depending on thickness. That estimate applies to short hair and should not be stretched into a figure for longer hair, since drying time grows with length and density.
- Bowl drying gathers hair into the cup and holds it, supporting curl clumps as they dry.
- Hover drying keeps the diffuser just off the hair, useful for roots and the outer layer.
- Pixie drying lifts small sections at the roots for short hair and targeted volume.
- Mixing methods in one session is normal and often gives the best shape.
- Short hair diffusing is commonly estimated at about 5 to 10 minutes, depending on thickness.
| Method | How it works | Best for |
|---|---|---|
| Bowl drying | Hair sits inside the diffuser cup while it dries | Defined curl clumps and the lengths |
| Hover drying | Diffuser is held a short distance above the head | Roots, canopy setting and gentle overall drying |
| Pixie drying | Prongs lift small sections at the root | Short hair and targeted volume |
Sources: Liverpoolbuzz, Curl Maven, ShunSalon
Finishing: cool shot, scrunching and avoiding over-drying
When the hair is nearly dry, switch to the cool shot. A cool setting is used at this stage to set the curl pattern and add shine, and it is the one finishing step that recurs across manufacturer and styling guidance alike. Hold the cool air over the hair for a moment rather than rushing straight to styling.
Then deal with any stiffness. If a gel cast has formed during drying, gently scrunching with your hands or working in a few drops of lightweight hair oil softens the curls and breaks the cast without destroying the shape. Work slowly and stop as soon as the hair feels soft rather than crisp.
The most common finishing mistake is over-drying. Stop while there is still a little give in the hair; going past that point usually leaves curls feeling rough and looking frizzy, and it undoes much of the care taken during sectioning. Because no numeric safe temperature threshold or hold time is established here, rely on your dryer's low and medium settings and on what the hair feels like rather than on a specific number.
- Switch to the cool shot once the hair is nearly dry to set the pattern and add shine.
- Scrunch gently with your hands to soften a gel cast.
- A few drops of lightweight hair oil can soften the cast further.
- Stop before the hair feels bone dry; over-drying undoes the definition you worked for.
- Let the hair cool and settle for a moment before styling.
Sources: Liverpoolbuzz, Bellissima Italia, HairSpeaks, Curl Maven, Max Pro x MOHI
Frequently asked questions
Can I use a diffuser on straight hair?
Yes. Straight hair can be dried with a diffuser when the goal is volume and texture rather than sleekness. Use a low heat setting, keep the speed gentle, and avoid heavy scrunching, which is what would otherwise flatten the hair you are trying to lift. The same attachment that protects curls can add body at the roots of straight hair without any change of technique beyond a lighter hand.
Sources: Liverpoolbuzz, HairSpeaksDoes a diffuser work on a low-wattage dryer?
A diffuser changes how the airflow leaves the dryer, not how much power the dryer has, so it works on any compatible dryer as long as it fits the nozzle securely. What you may notice on a lower-powered dryer is that drying simply takes longer, since the diffused airflow is gentler by design. No specific drying times for low-wattage dryers are available, so judge progress by how the hair feels as you work.
Sources: Vega Professional, ShunSalonHow long should diffusing take for medium-length curls?
There is no reliable total for medium-length curls to work from. The only timing guidance that appears consistently applies to short hair, where diffusing generally takes about 5 to 10 minutes depending on thickness. For medium-length hair, expect to spend longer and work in sections rather than timing the session. If you want a benchmark, time your own routine once and use that as a personal reference.
Sources: ShunSalonShould I apply product before or after diffusing?
Apply products before you diffuse, on wet or damp hair that has been squeezed out with a microfiber towel or a cotton T-shirt. Curl creams, leave-in conditioners, mousse and gel all belong at this stage so the curl pattern sets while it dries. Light products such as mousse or leave-in conditioner suit short hair particularly well. Any finishing, such as gently scrunching out a gel cast, comes after drying.
Sources: Liverpoolbuzz, HairSpeaks, ShunSalonSources
- Diffuser Hair Dryer: Frizz-Free Curls, Waves, and Volume - Liverpoolbuzz — Liverpoolbuzz
- What are hair dryer nozzles and diffusers? — Vega Professional
- Hair dryer with diffuser and hair diffuser? | Bellissima Italia — Bellissima Italia
- 10 Reasons Why You Should Be Using A Hair Dryer Diffuser! - HairSpeaks — HairSpeaks
- Discover the Magic: What Does Hair Dryer Diffuser Do for Your Hair? - HairSpeaks — HairSpeaks
- Best Hair Dryers & Diffusers for Curly Hair — Curl Maven
- Mastering Short Hair Styling: Blow Dryer Diffuser Tips & Tricks | ShunSalon — ShunSalon
- A Complete Guide to Selecting the Ideal Hair Dryer for Your Hair Type — Max Pro x MOHI
- How to Choose a Hair Dryer with a Diffuser Attachment ⋆ Jupiter & Dann — Jupiter & Dann