How heat and airflow change curl pattern
Curls form because of how the strand bends as it dries. Move the strand while it is still wet, aim strong air directly at it, or apply high heat, and the curl can stretch, separate, or frizz before it has a chance to set.
A diffuser changes the airflow story. Instead of forcing air through the hair in a single hard stream, a diffuser is built to spread air over a wider area. It also slows the speed of air leaving the dryer, so less force is exerted on the strand. Most attachments also have a bowl-shaped head with vents and prongs, which lifts and cradles curls while dispersed air reaches them from more than one angle.
Heat matters too. Published guidance for curly hair recommends low to medium heat and low airflow when diffusing. High heat and high speed are the two settings most associated with flyaways, frizz, and curls that fall flat before they are fully dry.
- Strong, concentrated airflow disturbs wet curls before they set.
- Dispersed airflow from a diffuser exerts less force on the strand.
- Heat plus airflow plus movement is the combination most likely to add frizz.
Sources: Velecta Paris, Dyson, Curl Maven
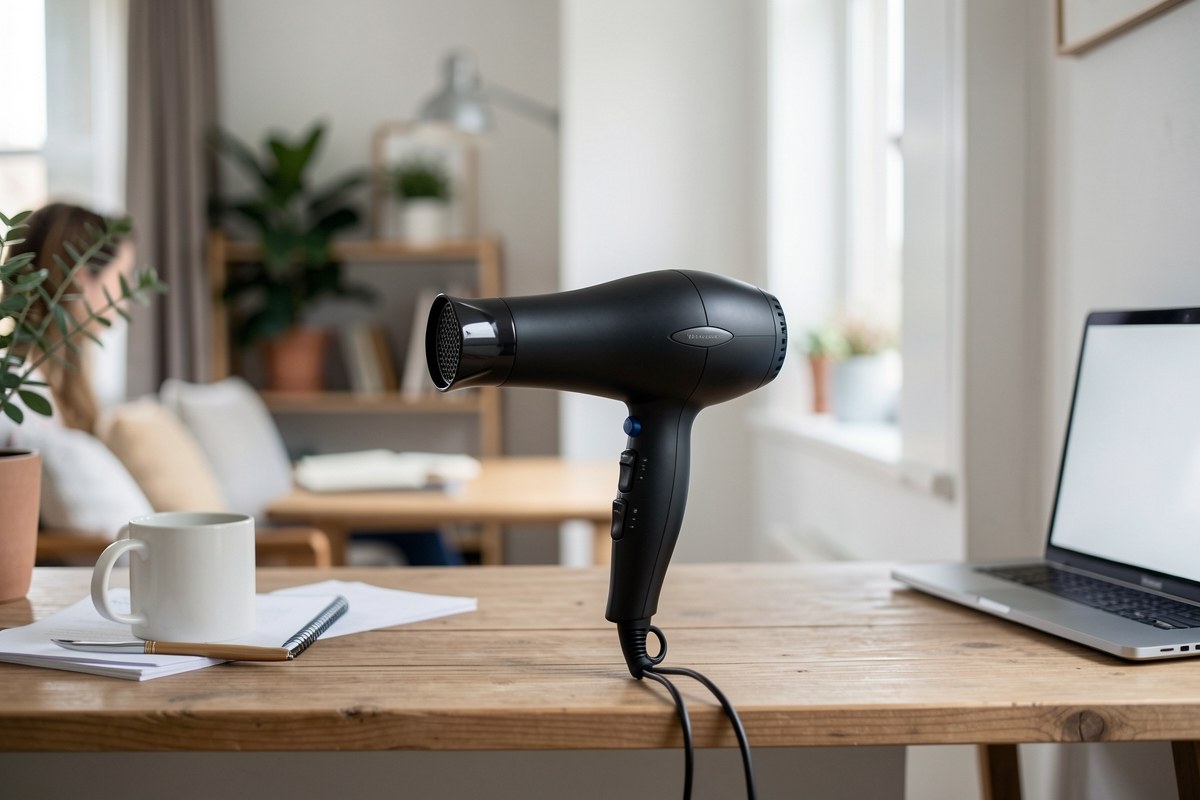
Does your hair dryer need a diffuser?
A diffuser is not the same as a concentrator nozzle. A concentrator aims air in one direction so you can smooth or point-dry a section of hair. A diffuser spreads that air out, which is why it is the attachment curly-hair guidance keeps returning to.
If your dryer did not come with one, a universal-fit diffuser attachment can upgrade a dryer whose included diffuser does not perform well, as long as it fits securely. A loose connection lets air leak from the joint, which defeats the purpose of a wide, gentle flow of air.
Some dryers are sold with a dedicated curly-hair diffuser, and at least one major manufacturer, ghd, lists a professional curly-hair diffuser as a purchasable accessory for its dryers. The right answer depends on the dryer you already own and how the attachment seats on the barrel.
- A diffuser disperses airflow; a concentrator nozzle focuses it.
- Universal-fit diffusers can extend the life of a compatible dryer.
- Fit matters more than branding: check for air leaks at the connection.
Sources: Velecta Paris, Dyson, Curl Maven, ghd
Choosing and fitting a diffuser
Diffuser shopping is mostly about geometry, and the geometry should match your hair rather than your dryer's color scheme. A wider and deeper bowl holds more hair, which is convenient for very long or thick hair. A smaller-diameter diffuser is a better match for fine, thin hair because it does not overwhelm the head.
There is a trade-off to the bigger bowl. A larger diffuser makes the hair dryer heavier and shifts its center of gravity, so grip and balance get worse. The practical rule is not to make the diffuser larger than you actually need for your length and density.
Bowl depth changes the airflow path. A deep-bowl diffuser with prongs or grips can help with root lift and volume; by keeping heat and airflow inside the bowl, it also tends to speed up drying. Shallow bowls with long prongs are the opposite case, because air blows straight through the hair and can add frizz and volume you did not ask for.
The diffuser surface matters, too. Small, evenly distributed airflow holes produce even diffused airflow, while too much airflow causes frizz and flyaways and too little makes diffusing very slow. Even drying across the whole head is the goal, not just at the ends, and thermal uniformity is rarely published, so if you cannot find that data, test the diffuser yourself. Storage is a small but real part of ownership: keep the diffuser in a dry, cool place away from direct sunlight so heat does not warp the plastic, and clean it so product buildup does not degrade the airflow pattern.
- Deep bowl, prongs or grips: volume and root lift, faster drying.
- Shallow bowl with long prongs: air passes straight through and can cause frizz.
- Small, evenly spaced holes: even airflow. Too much or too little airflow is a problem at both ends.
- Check fit before buying: the diffuser should seat securely with no leaking.
- Wipe the diffuser with a damp cloth after use and rinse it under warm water periodically to clear product buildup.
- Store it dry, cool, and out of direct sunlight.
Sources: Velecta Paris, Dyson, Curl Maven
A practical test before you trust a diffuser
You do not need test equipment to judge a diffuser. Set the dryer to cool, hold a hand over the air outlet, and compare airflow with and without the diffuser attached. Air speed should be noticeably slower with the diffuser on, and the air should feel even across the diffuser surface rather than concentrated in one spot.
If the airflow is still forceful or uneven, the diffuser is working more like a concentrator. That does not make it useless, but it changes how you will need to use it.
Sources: Velecta Paris
Setting up wet curls before the dryer comes on
Diffusing works best when the hair is prepared, not just wet. Wash and condition first, then apply styling products to damp hair. Remove excess water by squeezing gently with a microfiber towel or a cotton T-shirt rather than rough towel-drying, which roughens the cuticle and encourages frizz.
Plopping is one option: wrap the hair in a cotton T-shirt for roughly 10 to 15 minutes to help set curl formation before diffusing. If you prefer to skip plopping, squeeze the hair section by section instead. Either way, attach the diffuser securely to the dryer before you turn it on.
Sources: Dyson
Bowl versus diffuser drying methods
There are two common ways to work a diffuser, and they suit different goals.
The bowl method uses the diffuser's bowl to cup a section of curls and hold them while they dry. You gather a section into the bowl, let dispersed air circulate inside it, and hold still. This tends to protect definition because the hair is not being blown around.
The hovering or scooping method keeps the diffuser slightly away from the head or angles it to lift hair at the roots. A finger-style, hand-shaped diffuser attachment can be angled either as a bowl or to cup hair for root lift, and one editor testing curly-hair dryers found that style of attachment works well for diffusing beginners.
Many people combine both: hover at the roots for volume, then bowl the mid-lengths and ends for definition.
- Bowl the hair when definition matters most.
- Hover or scoop at the roots when you want lift.
- Pause and hold rather than moving the diffuser constantly.
Heat and speed settings for curls
The consensus in curly-hair guidance is low to medium heat with low airflow. That is a qualitative recommendation, not a measured temperature threshold, so treat it as a starting point rather than a clinical limit.
What matters is what the settings do to the hair while it dries. Excessive heat, high airflow, over-drying, and moving the diffuser around too much are the mistakes most often described as causes of frizz and disrupted curl formation. If you are unsure which setting to use, start lower than you think you need and increase only if drying is impractically slow.
A cool-shot button is useful at the end of a section to set the curl before you move on. Adjustable heat and speed controls make this kind of fine-tuning easier, and both are commonly recommended features for curly-hair drying alongside a diffuser attachment.
One editorial tester reported that high-speed diffusers with advanced heat and airflow control dried type 3A curls in under about 10 minutes without frizz. That result comes from a single tester with a specific hair type, so do not treat it as a target for every curl pattern.
Sources: Dyson, Curl Maven, Byrdie
Handling the switch from wet to dry without disturbing curls
The wet-to-dry transition is where curl definition is usually won or lost. Movement is the enemy: every time you reposition the diffuser, you risk breaking the curl clumps that are trying to form.
A workable sequence is to begin at the roots with the head tilted forward or to the side, work in sections from back to front, and hold each section for a few seconds before moving on. Avoid excessive movement, and resist the urge to keep checking whether the hair is dry.
Stop diffusing when the hair is roughly 90 percent dry and let the remaining moisture air dry naturally. Some guidance gives a wider 80 to 90 percent range as a rule of thumb, which is fine as long as you are erring on the side of leaving some moisture in. The point is to avoid over-drying, which is one of the common mistakes linked to added frizz.
Once you set the dryer down, do not comb or rake through the dried curls. Let them finish on their own.
- Tilt the head forward or to the side and start at the roots.
- Work in sections from the back of the head to the front.
- Hold each section in place for a few seconds before moving on.
- Keep movement minimal to avoid breaking curl clumps.
- Stop at roughly 90 percent dry and allow the rest to air dry.
Sources: Dyson, Curl Maven
Drying curly hair without a diffuser
You can dry curly hair without a diffuser, but you have to change the technique rather than just pointing the dryer at your head. High-speed, concentrated airflow on wet curls disturbs the hair before it sets.
Without a diffuser, keep the dryer on the lowest heat and speed you can stand, hold it further from the hair, and keep it moving so no single section takes the full force of the stream. Squeeze water out with a microfiber towel or cotton T-shirt first so the dryer has less work to do. Cupping the hair with your hand while you aim the dryer loosely approximates what a diffuser does, but the airflow is still more direct.
The main limitation is control. A diffuser is designed to slow and spread the air; without one, you are managing that by hand.
Sources: Velecta Paris, Dyson
Frequently asked questions
Can I dry curly hair without a diffuser?
Yes, but you will need to be more careful about airflow because a dryer without a diffuser directs air in a single stream, which disturbs wet curls more easily. Use the lowest heat and speed you can tolerate, hold the dryer further from the hair, and keep it moving so no section takes the full force. Squeeze out excess water with a microfiber towel or cotton T-shirt first. Even with careful technique, expect less control over definition than a diffuser provides.
Sources: Velecta Paris, Dyson, Curl MavenWhat heat setting should I use on curly hair?
Curly-hair guidance recommends low to medium heat combined with low airflow when diffusing. This is a qualitative recommendation rather than a measured temperature limit, so start lower than you think you need and increase only if drying becomes impractically slow. Excessive heat and high airflow are two of the mistakes most often linked to frizz and disrupted curl formation.
Sources: Dyson, Curl MavenShould I diffuse soaking-wet hair?
Remove excess water first by squeezing gently with a microfiber towel or a cotton T-shirt, then apply styling products to damp hair before you diffuse. Going straight from soaking wet to the dryer means a longer drying session and more opportunity for the airflow to disturb the curl clumps as they try to set.
Sources: DysonHow do I dry curls after plopping?
Plopping for roughly 10 to 15 minutes helps set curl formation before diffusing, but the drying rules do not change afterward. Attach the diffuser securely, start at the roots with the head tilted forward or to the side, then work in sections from back to front, holding each section for a few seconds before moving on. Keep movement minimal and stop when the hair is roughly 90 percent dry.
Sources: DysonHow do I know if a diffuser is actually diffusing?
Set the dryer to cool, hold a hand over the air outlet, and compare airflow with and without the diffuser attached. Air speed should be noticeably slower with the diffuser on, and the air should feel even across the diffuser surface. If it is still forceful or concentrated in one spot, the attachment is behaving more like a concentrator nozzle, and you will need to compensate with distance and movement.
Sources: Velecta ParisHow often should I clean my diffuser?
Wipe the diffuser with a damp cloth after use, and periodically rinse it under warm water and let it air dry. Product buildup inside the vents degrades airflow distribution over time. Store it in a dry, cool place away from direct sunlight so heat does not warp the plastic.
Sources: DysonDoes bowl depth really change the result?
Bowl depth changes the airflow path and how much hair the diffuser can hold. A wider, deeper bowl holds more hair, which helps with very long or thick hair, while a smaller diameter suits fine, thin hair. Deep bowls with prongs or grips can support root lift and volume and keep heat and airflow inside the bowl, which tends to speed drying. Shallow bowls with long prongs let air blow straight through the hair, which can add frizz.
Sources: Velecta Paris, Curl MavenWhat features should I look for in a dryer for curly hair?
Adjustable heat settings, adjustable speed settings, a cool-shot button, and a diffuser attachment are the features most consistently recommended for curling drying. Ionic technology is often marketed alongside these, but those claims come from vendor-influenced content and are not independently verified, so they should not be the deciding factor in your purchase.
Sources: Curl Maven, Byrdie