Start with towel-dried hair and a heat protectant
The first few minutes decide how much heat your hair has to absorb. Blotting or squeezing water out with a microfiber towel or a cotton t-shirt removes a large share of the moisture before the dryer is switched on. Rubbing is the part to avoid, because friction on wet strands is where breakage starts.
While the hair is still damp, apply a heat protectant from mid-length to ends. A lightweight spray or lotion distributed evenly gives the heat a layer to act on before it reaches the strand itself. Applying it to damp hair, not soaking hair, helps it spread without diluting the product.
- Blot or squeeze with a microfiber towel or cotton t-shirt instead of rubbing.
- Apply a heat protectant to damp hair before the dryer comes out.
- Take the hair to roughly half dry or a little further before you begin blow drying.
- Skip the step of blow drying hair that is still dripping wet.
Sources: Sam Villa, Clementine's Salon and Skin Care, Prose, Sam Villa Pro
Choose heat and speed settings for your hair
For routine at-home drying, low to medium heat is the sensible default, and it is what most stylists recommend for regular use. The highest heat setting belongs to specific styling moments, not to everyday routine drying. Pair medium heat with a lower speed setting; high speed plus high heat pushes a lot of hot air at the cuticle at once.
The setting that matters most is the one you can hold over a section without the scalp feeling uncomfortable. If you can feel the heat building on your scalp rather than on the hair, the setting is too hot for that section. Medium heat is the appropriate choice for general styling work, while cool air is the choice for the last pass.
- Low to medium heat for routine drying.
- Medium heat with a low speed setting for styling passes.
- Reserve the highest heat for brief, specific moments rather than the whole routine.
- If the scalp feels hot, move up in distance or down in heat before continuing.
Sources: Sam Villa, Carol's Daughter, Clementine's Salon and Skin Care, Prose, Sam Villa Pro
Correct distance and angle
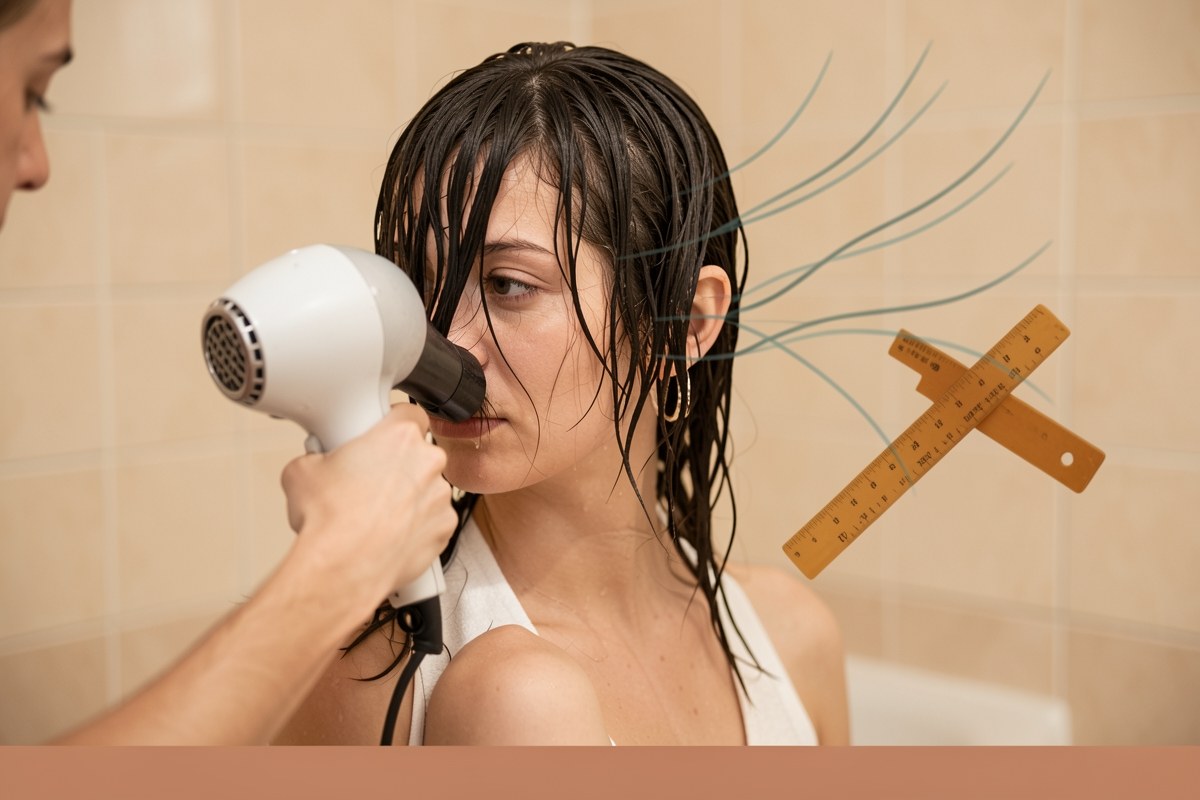
Distance guidance varies because it depends on the dryer and the attachment, but the two figures that come up most often are at least about one inch and roughly six to eight inches. What matters in practice is that the dryer is never parked against the hair. If the nozzle is resting on the strands, all the heat goes into one small area and the rest of the section stays wet.
Angle the airflow down the hair shaft, in the direction the hair grows. Running the air with the cuticle rather than against it is what gives a smoother finish and reduces the frizz that comes from lifting the cuticle. A concentrator nozzle helps direct that airflow precisely, which is why it is useful for straight and wavy hair.
- Keep the dryer at least about an inch from the hair; six to eight inches is a working distance for many people.
- Point the airflow down the shaft, in the direction of growth.
- Keep the dryer moving so heat does not concentrate in one spot.
- Use a concentrator nozzle for straight or wavy hair to aim the air precisely.
Sources: Sam Villa, Bio Ionic, Clementine's Salon and Skin Care, Salon Worthy Hair, Sam Villa Pro
Sectioning and working order
Divide the hair into manageable sections and clip the ones you are not working on. Drying one small section at a time means each part is finished in one pass rather than being reheated again and again. Repeated passes over the same section are one of the easier ways to overheat hair without noticing.
Start by rough drying without a brush until the hair is about 80 percent dry. Only then bring in a brush to finish the shape. This order keeps the brush from dragging through wet hair and keeps the heat focused on drying rather than on styling tension.
- Clip the hair into sections and work through them one at a time.
- Rough dry each section without a brush until the hair is about 80 percent dry.
- Switch to a brush and finish the section with controlled, downward passes.
- Move to the next section only when the current one is dry rather than damp.
Sources: Sam Villa, Prose, Sam Villa Pro
When and how to use the cool shot
The cool shot is the finishing move, not a mid-drying step. Once a section is dry, a short blast of cool air helps close the cuticle, set the style, and add shine. It also cuts down on the frizz that warm air can leave behind.
For curly or wavy hair, the cool shot pairs with a diffuser rather than a concentrator. Cup sections of hair into the diffuser on low heat and low speed, and avoid handling the hair while it dries. The less the hair is touched during drying, the less frizz there is to smooth afterwards.
- Use the cool shot at the end of styling, after the section is fully dry.
- Point the cool air down the shaft to help seal the cuticle.
- For curls, cup sections into a diffuser on low heat and low speed.
- Avoid touching or scrunching the hair while it dries.
Sources: Bio Ionic, Carol's Daughter, Clementine's Salon and Skin Care, Salon Worthy Hair, Curly Nikki
Finishing and cooling down
Stop drying when the hair is dry, not when it feels crisp. Over-drying is a common cause of frizz and dryness, and it can leave hair feeling brittle even when the technique was otherwise sound. The last pass should be a cool-down pass, moving the dryer steadily over the finished sections.
Let the hair settle for a moment after the cool shot before adding any styling product. If you used a heat protectant at the start, you have already given the hair its main layer of protection; the finishing stage is about holding the shape rather than adding more heat.
- Stop as soon as the hair is dry; do not keep going for a crisper feel.
- Finish with a cool-down pass over the completed sections.
- Let the hair settle briefly before applying finishing products.
- Judge the result by how the hair feels, not by how much heat it has taken.
Sources: Carol's Daughter, Clementine's Salon and Skin Care, Salon Worthy Hair
Signs you are overheating your hair
Heat damage rarely appears all at once. It shows up as loss of volume, dull colour, split ends, breakage, frizz, and strands that feel dry or brittle. If several of these show up together after a drying session, the heat, the distance, or the number of passes is the first thing to review.
Scalp comfort is a useful early signal. If the scalp feels hot under the airflow, or if the hair smells scorched, stop and reset. Ongoing scalp conditions, alopecia, or chemically treated hair are reasons to talk to a qualified professional rather than to troubleshoot at home.
- Loss of volume or bounce that does not return after styling.
- Dull colour or a rougher texture along the mid-lengths and ends.
- Split ends and breakage that increase after drying sessions.
- Frizz and dryness that persist even with a heat protectant.
- Scalp heat or a scorched smell during drying.
Sources: Sam Villa, Carol's Daughter, Clementine's Salon and Skin Care
Frequently asked questions
How far should a hair dryer be from the hair?
Recommendations differ by source and by attachment. One common guideline is to keep the dryer at least about an inch from the hair, and another is to work at roughly six to eight inches. The practical rule is to keep the nozzle off the strands entirely and adjust the distance until the scalp feels warm rather than hot.
Sources: Sam Villa, Clementine's Salon and Skin Care, Sam Villa ProIs it safe to dry hair on the highest heat setting?
For routine drying, low to medium heat is the recommended approach rather than the highest setting. Medium heat is described as the right level for styling, while cool air is used to lock a finished style in place. If the scalp feels hot during a pass, the setting is too high for that section.
Sources: Sam Villa, Carol's Daughter, Clementine's Salon and Skin Care, Prose, Sam Villa ProShould I let hair air-dry before using a dryer?
Yes, to a point. Towel-drying or air-drying before blow drying removes excess water, shortens the time the hair spends under heat, and reduces the risk of breakage from blow drying soaking-wet hair. Many sources suggest starting when the hair is roughly half dry or a little further along. You do not need to wait until the hair is fully dry.
Sources: Sam Villa, Clementine's Salon and Skin Care, Sam Villa ProHow can I tell if my hair is heat damaged?
Sources describe heat damage as showing up through loss of volume, dull colour, split ends, breakage, frizz, and strands that feel dry or brittle. Persistent frizz and dryness after drying, or a rougher texture along the lengths and ends, are reasons to lower the heat, increase the distance, and reduce the number of passes over each section.
Sources: Sam Villa, Carol's Daughter, Clementine's Salon and Skin CareSources
- The Ultimate Guide To Blow Dry Hair Without Damage — Sam Villa
- The Ultimate Guide To Blow Dry Hair Without Damage — Bio Ionic
- How to Dry Natural Hair Without Damage — Carol's Daughter
- 7 Professional Tips: How to Dry Hair Without Damaging It — Clementine's Salon and Skin Care
- How to Blow Dry Hair Without Frizz & damage: Strategic Drying & Styling — Salon Worthy Hair
- How to Protect Fine Hair From Heat Damage While Adding Volume — Prose
- How To Blow Dry Hair Properly: Salon-Grade Results — Sam Villa Pro
- How to Blow Dry Natural Hair Without Heat Damage (4C Tips) — Curly Nikki