What a concentrator does and how it differs from a diffuser
A concentrator nozzle is a narrow attachment that clips onto the front of your hair dryer. Instead of letting air spray out in a wide, scattered pattern, it gathers that air into a tight, directional stream. That focus is the whole point: you can aim heat and airflow at one section of hair at a time rather than warming the whole head at once.
A diffuser does the opposite job. It is a wide, bowl-shaped attachment with prongs or holes that spreads airflow over a larger area and softens the blast. Diffusers are generally used for curls and waves because they reduce the direct force of air on the hair. Concentrators are generally used for straight or wavy hair when the goal is smoothing and directing airflow along the hair shaft. The two attachments are not interchangeable in technique, even though they fit the same dryer.
- Concentrator: narrow opening, focused directional airflow, used for smoothing and control.
- Diffuser: wide bowl, dispersed airflow, used to dry curls and waves with less disturbance.
- Both are detachable attachments; not using any attachment at all is one commonly named hair-dryer mistake that can contribute to frizz.
Choosing concentrator width for your hair length
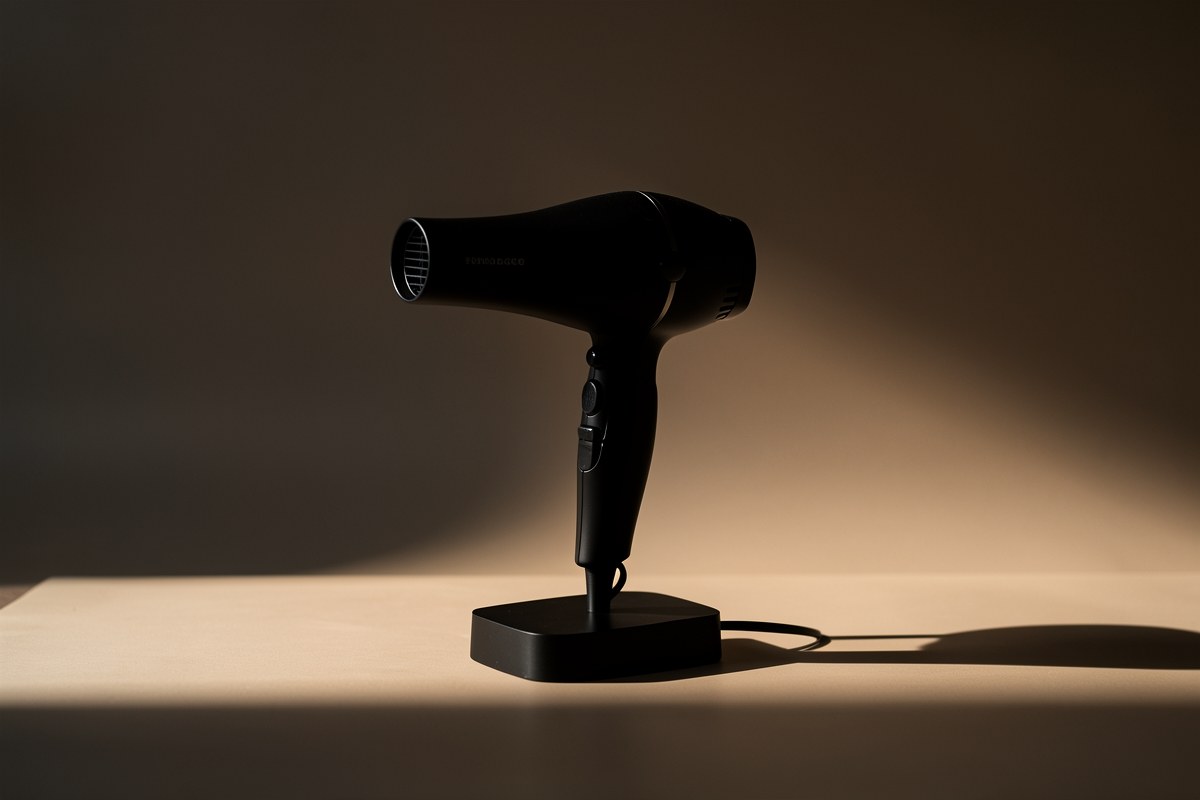
Concentrator nozzles come in different widths, and the right one depends mostly on how much hair you are directing at once. A narrow nozzle concentrates the stream into a very small area, which is useful for precision work such as smoothing the hairline, refining the ends, or directing airflow along a single section. A wider concentrator covers more hair per pass, which can be faster on long or thick hair where you have many sections to dry.
There is no single width that is best for everyone. As a practical starting point: if you find yourself constantly chasing small pieces around your head, a slightly wider nozzle may save time. If air keeps spilling onto sections you have already dried, a narrower one gives you more control. If your dryer came with one concentrator, you can still get a smooth result by adjusting distance, angle and section size rather than buying another attachment.
- Narrow nozzle: more precision, less area per pass, useful for hairlines, ends and small sections.
- Wider nozzle: more coverage, faster on long or thick hair, less precision.
- Section size matters as much as nozzle width: smaller sections let each pass dry fully before you move on.
Sources: Sam Villa
Pointing airflow down the hair shaft
The single most useful technique with a concentrator is direction. Aim the airflow from near the roots downward along the hair shaft, in the direction the hair grows. Blow-drying in the wrong direction, especially upward against the cuticle, is named as a cause of frizz. Directing airflow down the hair with a concentrator helps smooth the cuticle for a sleeker, glossier finish. This is the same principle used in a salon blowout: the nozzle stays pointed down the strand as you work.
In practice, this means starting at the roots with the nozzle above the section and moving it downward toward the ends, rather than pointing it up under the hair. If you are drying the back of your head, angle the nozzle downward as well. The goal is a consistent downward pass, not a scrubbing motion. The cuticle-smoothing explanation here comes from salon and brand education sources rather than controlled measurement, so treat it as the working technique most stylists recommend rather than a proven laboratory result.
- Start near the roots and move the nozzle down toward the ends.
- Keep the airflow pointing down the strand, not up against it.
- Avoid pointing the nozzle upward under sections of hair.
- Use a continuous downward pass instead of scrubbing back and forth.
Distance, angle, and section size
Distance and angle are where most at-home blow-drying goes wrong. The nozzle should never touch your hair, and the dryer should be held at least about one inch (roughly 2.5 cm) away from the hair surface at minimum. A salon article recommends a wider working distance of about 6 to 8 inches (roughly 15 to 20 cm) to prevent overheating, while a science-education source reports that in a drying study, signs of bubble hair appeared at a 5 cm distance corresponding to a hair temperature of about 95 °C. These figures describe different things: a minimum clearance, a target working distance, and an experimentally damaging distance. They should not be combined into one number. The practical takeaway is to keep the dryer moving and never park it in one spot, especially close to wet hair.
Section size works together with distance. Working in small sections allows each section to be fully dried and prevents repeatedly applying heat to the same damp areas, which is a common cause of frizz and damage. A section that is too large will still be damp in the middle when the outside feels dry, so you end up going over it again. Clip the rest of your hair out of the way and dry one section at a time.
Your heat setting also matters here. Keep the dryer on low or medium heat rather than the hottest setting, and adjust to suit your hair type. Before you start, towel-dry gently to about 60 to 70 percent dryness. This reduces the time your hair is exposed to the dryer, which is one of the simplest ways to lower heat exposure.
- Never let the nozzle touch your hair; keep at least about 1 inch (2.5 cm) of clearance.
- A common working distance is about 6 to 8 inches (15 to 20 cm).
- Keep the dryer moving; do not hold it in one place over wet hair.
- Work in small sections so each one dries fully before you move on.
- Use low or medium heat, and towel-dry to about 60 to 70 percent dryness first.
Sources: Sam Villa, Clementine's Salon and Skin Care, Lab Muffin Beauty Science
Working with a round brush vs. finger-tension drying
A concentrator pairs well with both a round brush and finger-tension drying, but the technique is slightly different. With a round brush, clip most of your hair out of the way, take a section about the width of the brush, and place the nozzle so the airflow runs down the hair toward the ends. Keep the brush moving and the nozzle pointed downward. The round brush creates tension, and the concentrator keeps the air focused on that section instead of blowing the rest of your hair around.
With finger-tension drying, you skip the brush and use your hand to pull the section taut while aiming the concentrator down the strand. This is useful for a quick, natural finish or for hair that tangles easily on a brush. The same rules apply: small sections, downward airflow, and a moving nozzle. Some people alternate between the two methods, using finger tension near the roots and a round brush through the mid-lengths and ends. Either way, the concentrator is doing the same job of keeping the airflow pointed in one direction.
If your goal is a lasting smooth finish, keep in mind that a concentrator alone does not fix a raised cuticle permanently. Underlying factors include dehydration and porosity, so prep products that address moisture and frizz are also part of the result. A concentrator improves how you direct airflow; it does not replace the rest of your hair routine.
- Round brush: section the hair, keep the nozzle pointed down the strand, and move both continuously.
- Finger-tension: pull the section taut with your hand and aim the concentrator downward.
- Both methods rely on small sections and a downward pass.
- A concentrator is a styling tool, not a permanent fix for frizz caused by dehydration or porosity.
Common mistakes that cause frizz or uneven drying
Most concentrator problems come down to a handful of repeatable mistakes. Blow-drying sopping wet hair instead of waiting until it is partially dry is one of the most commonly named. Holding the dryer too close while the hair is still very wet is another. Blow-drying in the wrong direction, not fully drying the hair, and drying in large sections instead of small ones all contribute to frizz. Not using a detachable attachment at all is also named as a common hair-dryer mistake.
Uneven drying is usually a sectioning and movement problem. If you hold the nozzle in one spot, the surface of that section dries while the inside stays damp, and you end up re-drying it and exposing it to more heat. Even a small amount of remaining water can cause the cuticle to swell and create frizz, so finishing each section fully matters. Keep the nozzle moving, use sections you can actually dry in a single pass, and check the roots and ends before moving on.
- Starting on soaking-wet hair instead of towel-drying first.
- Holding the dryer too close to wet hair.
- Blow-drying in the wrong direction rather than down the shaft.
- Not drying the hair fully, leaving water to swell the cuticle.
- Working in sections that are too large or re-drying damp patches.
- Skipping the attachment entirely when your dryer has one.
Sources: Sam Villa, Style by Emily Henderson, Vega, Gamaiq Dryer
A step-by-step concentrator routine
Here is the sequence in order. It works for straight or wavy hair; if you have curls and want to keep them defined, a diffuser is generally the better attachment. Set up your station so you are not rushing, and keep the nozzle moving throughout.
- Start on freshly washed hair. Gently blot with a microfiber towel or cotton T-shirt to remove excess water without vigorous rubbing.
- Let the hair air-dry or towel-dry until it is roughly 60 to 70 percent dry before you turn on the heat.
- Apply any prep products you normally use for moisture or frizz control.
- Clip the top layers out of the way and start with the lower sections at the back.
- Attach the concentrator nozzle and set the dryer to low or medium heat.
- Hold the nozzle at least about 1 inch (2.5 cm) away from the hair, with a working distance closer to 6 to 8 inches (15 to 20 cm).
- Point the airflow from near the roots down along the hair shaft, in the direction of growth.
- Work one small section at a time, keeping the dryer moving rather than holding it in one spot.
- Dry each section fully before moving to the next, checking that the roots and ends are dry.
- Finish with a cool shot if your dryer has one, then repeat on the remaining sections.
Sources: Sam Villa, Clementine's Salon and Skin Care, Lab Muffin Beauty Science
Frequently asked questions
Can I dry my whole head with just a concentrator?
Yes, you can dry your whole head with a concentrator, though it takes more passes than a wide airflow because the stream is narrow. Work in small sections and move the nozzle continuously. The main limitation is time and technique: if you do not section the hair, you may end up re-drying the same areas, which adds heat exposure. If your hair is very long or thick, a wider concentrator covers more area per pass and can speed things up.
Sources: Sam VillaIs a concentrator safe for curly hair?
The concentrator is generally described as the attachment for straight or wavy hair, while a diffuser is the usual choice for curls because it disperses airflow and reduces disturbance. The available guidance does not provide specific safety advice for using a concentrator on curly hair, so if you want to keep your curl pattern defined, a diffuser is the more conventional option. If you are unsure how your hair will respond, test on a small section first and keep the heat on low or medium.
Sources: Sam Villa, Clementine's Salon and Skin CareHow far should the nozzle be from my hair?
Keep the nozzle at least about 1 inch (roughly 2.5 cm) away from the hair surface at minimum, and never let the dryer touch your hair. A wider working distance of about 6 to 8 inches (roughly 15 to 20 cm) is recommended to avoid overheating. A science-education source reports that signs of bubble hair appeared at a 5 cm distance in a drying study, which is a caution about holding a dryer very close to wet hair, not a target distance. In practice, keep the dryer moving and use the wider working distance rather than hovering close.
Sources: Sam Villa, Clementine's Salon and Skin Care, Lab Muffin Beauty ScienceDoes concentrator width affect drying time?
Width affects how much hair you can dry in one pass. A narrow nozzle concentrates airflow into a smaller area, so you may need more passes to dry the whole head, but you get more precision and less air spilling onto already-dried sections. A wider nozzle covers more hair per pass, which can shorten drying time on long or thick hair. Section size and whether you keep the nozzle moving usually matter more than width alone.
Sources: Sam VillaShould I use a round brush or just my fingers with a concentrator?
Both can work. A round brush gives tension and a smoother finish through the mid-lengths and ends; finger-tension drying is faster and easier on hair that tangles. In both cases, keep the nozzle pointed down the hair shaft, work in small sections, and keep the dryer moving. The technique matters more than the tool.
Sources: Sam Villa, Color WowWhy does my hair still look frizzy after using a concentrator?
A concentrator helps direct airflow, but frizz can still come from drying soaking-wet hair, holding the dryer too close, blow-drying in the wrong direction, not drying the hair fully, or working in sections that are too large. Underlying dehydration and porosity can also keep the cuticle raised, so prep products are part of the result. If you are doing the directional technique but still seeing frizz, check your heat setting and whether each section is fully dry before you move on.
Sources: Sam Villa, Color Wow, Style by Emily Henderson, Gamaiq DryerSources
- The Ultimate Guide To Blow Dry Hair Without Damage — Sam Villa
- How To Blow Dry Hair Without Frizz — Color Wow
- 7 Professional Tips: How to Dry Hair Without Damaging It — Clementine's Salon and Skin Care
- Stop drying your hair wrong: the science — Lab Muffin Beauty Science
- Turns Out I've Been Blow Drying My Hair All Wrong—Here's How To Get It Right — Style by Emily Henderson
- 4 Hair Dryer Mistakes to Avoid for Frizz-Free, Smooth Hair — Vega
- 5 Blow Dry Mistakes That Cause Frizz | Winter Hair Care Tips — Gamaiq Dryer